GNS3 is a great emulator where you can install real Cisco IOS Images and test different devices. It mainly works for Cisco Routers, because switches use ASIC chips -dedicated hardware chips, that cannot be emulated by GNS3. Actually more device from Cisco (ASA) and other vendors are also supported. Cisco has released their own Emulator (VIRL). It is a great tool, but it requires a HyperVisor and great amount of computer resources (RAM,CPU etc), and comes with an additional cost ($199.00 / year January 2019)
Not to be confused with simulators, like Packet Tracer which mimics - simulates the activity of a device. On packet tracer we can also simulate Cisco Switches.
GNS3 runs on the three popular OS (Windows, Linux, MacOS). We can press the link and download also the GNS3 VM that can improve performance - it seems that this feature is only available for VMWare Virtual Box as we will see below.
Note: I had some issues with GNS3 VM and VirtualBox, since Oracle Virtual Box doesn't support nested VMs (as it will be shown during the installation). You can skip the GNS3 VM instllation and go straight to the GNS3 Application setup.
Let's install first the GNS3 VM. This is different from the actual GNS3 Application.
The compressed file contains only the ova file.
We will go to our Hypervisor and Import that OVA File.
We can see that the GNS3 is using Ubuntu OS and required 2 NICs
We will add a new Group for that VM and also change the default location to C:\Virtual Machines.
Once we have made all the necessary changes, we can press Import
GNS3 VM requires a NAT interface in order to work with GNS3, else we will get an error.
We will leave the network settings to default.
So the GNS3 VM has one NIC on the NAT network and one using the Host VirtulBox Adapter.
Before Powering on the VM, we need to install the GNS3. We could have done that before the GNS3 VM setup. The current version is 2.1.11 (January 2019) and we will keep the installation simple.
GNS3 Application required WinPCAP engine in order to work. I have installed Wireshark that includes WinPCAP on another post, so I will remove those apps. I will just keep the components shown below.
We won't install the Solarwinds Toolset
After the installation is completed, we can Start GNS3.
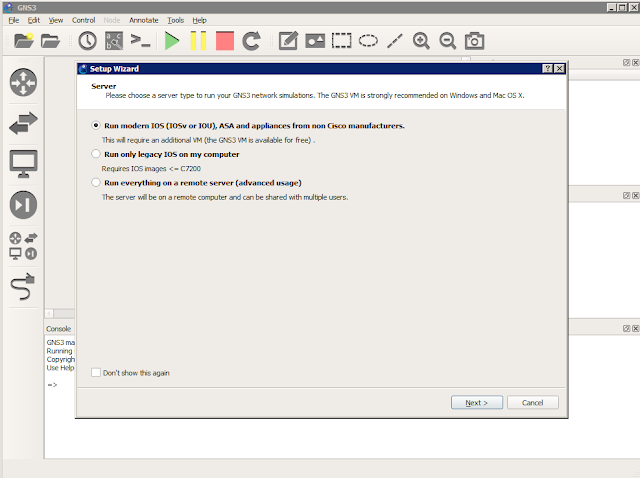
It will prompt us to use the GNS3 VM for better performance.
Note: If you experience issues with GNS3 VM or you don't want to use the GNS3 VM, you can simply go to the second option "Run Only Legacy IOS on my Computer", skip the rest of the article and jump to the next post.
We will power up the VM we have created earlier. The IP Address is releated to our VirtualBox Ethernet Adapter (192.168.56.0/24 network)
We will chose that network for host binding
As we can see if NPCap is not present, then we won't be able to complete the installation.
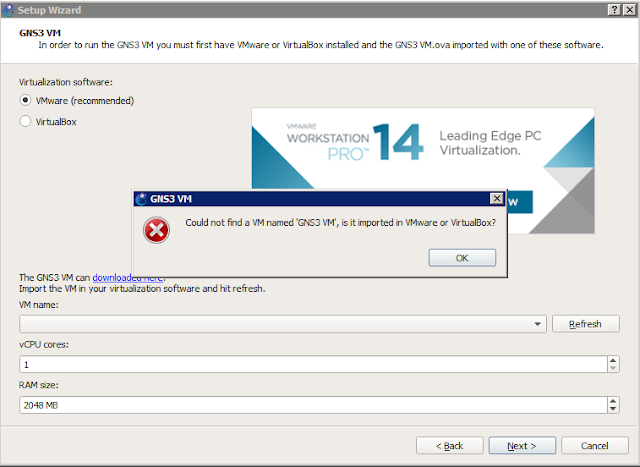
We need to specify VIrtualBox as our virtualization software
But as we mentioned on another post VirtualBox doesn't support nested Virtualization.
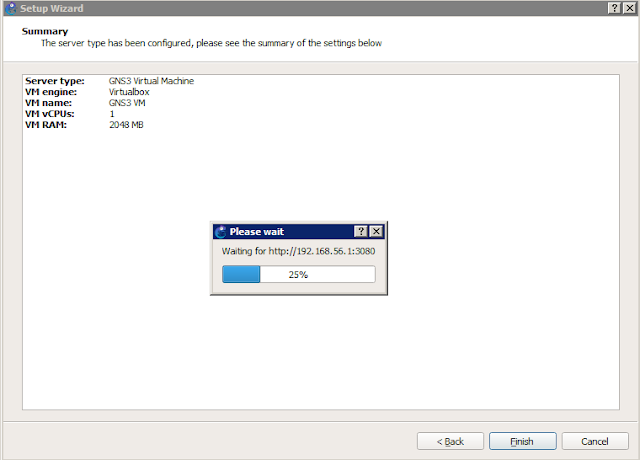
We are good to go! We can skip the template Wizard, we will do it manually in a bit.
We will be prompted to specify a Project. This is a great way to save our topology for future use.
Now we need to add a CIsco Router. Go to Preferences
Find the IOS Routers under the Dunamips section and press New...
We will run the Router through the GNS3 VM.
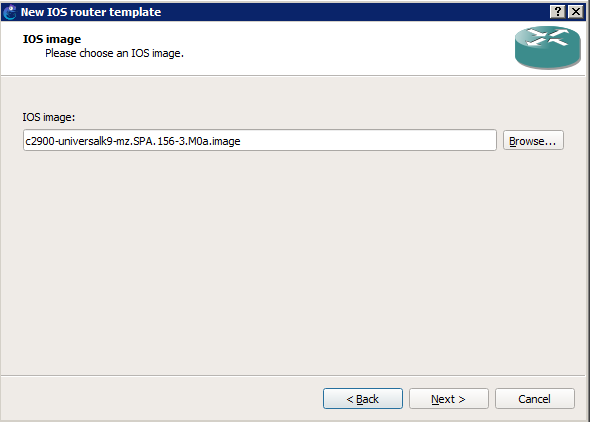
We will Browse for the IOS image on our local/network location. The IOS image may require decompression.
Some images are not supported. I will use the 12.x images
My prefered IOS images are shown below:
After loading the image, the GNS3 will device which Platform to use.
We can configure the RAM, but we will keep the default values.
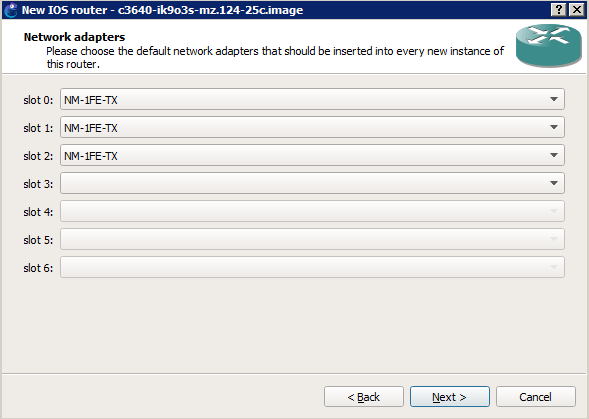
Then we can spacify how many interfaces to add
And specify an Idle-PC value, else our IOS will use all the Host PCs CPU resources. This is a typical issue with GNS3. We have to simply press Idle-PC finder and GNS3 will do everything for us.
After completing the Wizard we can see an overview settings of our IOS Device Template.
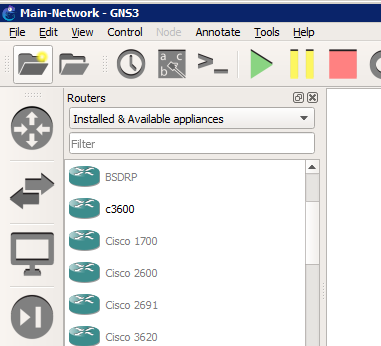
We can exit the Preferences and go to our Main Page. There we can press the Router icon and see all our options.
We can filter to only Installed Appliances, and get only the devices we have configured.














No comments:
Post a Comment