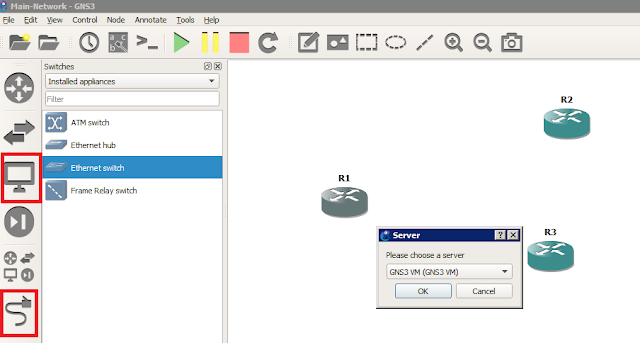
At the end of our previous post we have added a Cisco Router Template to our GNS3 Application. We can simply drag and drop to or design pane.
We can connect directly the devices together using the cable (link) option or add an extra Switch. Each time we add a device we are asked if we want to run it through our GNS3 VM or through the GNS3 Application.
After adding the Switch we can link the devices topether using the link option. Since each networking device has more than one interface we need to specify which nterface to use, as shown below for the Switch
And for the Router.
Note: Some devices, like the switches do not need to be started.
Now we can press Console from the Cisco Router options and get a console view from that Device. As we explained on a previous post GNS3 is an emulator, so this is normally the feedback from the real Cisco device when we use tht specific IOS.
On the previous post we created the IOS Router using GNS3 VM. For the Oracle VirtualBox hypervisor, the behaviour of GNS3 is a bit unstable, as we mentioned, so maybe sometimes it is better to use only the local Application.
Now we will add a Cisco IOS Template using the native GNS3 application - ignoring the GNS3 VM. We can go to preferences and then under Dynamips section we select IOS routers
We have added a few ISO Images on the main GNS3 Image Folder
C:\Users\<user>\GNS3\images
and will be shown as Existing Images.
We will use the Local suffux to distinguish between native GNS3 Templates and the ones use the GNS3-VM. The steps are the same as in the GNS VM option.
Similarly we can add other Devices. Of course we can create multiple templates the same IOS, but different settings, for example less or more network interfaces, different RAM etc.
As I mentioned on the previous post, since I had some issues with GNS3 VM, I will disable this option under Preferences > GNS3 VM.
Now we can add our applicances to future labs.
Also make sure that you are using the PC hostname option instead of the GNS3 VM when you are asked to chose a Server.


No comments:
Post a Comment