In a previous post we went through the basic setup of Oracle VirualBox. VirtualBox is free to use. Less than a year ago my line manager got me a personal license for VMWare Workstation Pro, for testing purposes. It comes with an additinal cost (£ 219.95 - December 2018) Since on some of my blog posts I will use VMWare, I will guide you through the installation of VMWare Workstation Pro version 15 on a Windows 7 machine.
I have added that paragraph because before I was not sure if there is a major difference between VMWare Workstation Pro and Oracle VIrtual Box. But recently I found out that only the VMWare product support nested Virtualization. This means that the integration with GNS3 will not be ideal with Oracle VirtualBox. Also inside VMWare Workstation Pro, I am able to run nested Type-1 Hypervisors (VMWware ESXi) and easily learn and test Type-1 Hypervisors, while this is not possible for VirtualBox.
Another major advantage of VMWare Workstation Pro is that you can add/remove virtual devices (NIC, Disk etc) on the fly, while with VIrtual Box you have to first shutdown the VM which time consuming. Also you can restore the VM to a previous snapshot again while the machine is running, which is not possible on VirtualBox.
In addition, I am not able to run Cisco Collaboration Applications, Call Manager (CUCM), Voice Mail (CUC) etc. to Oracle VirtualBox. I am not sure if there is a workaround, but when I try to install the OS, I am getting "The hardware you are using is not supported for this product". I assume it is an issue with the HyperVisor. There is a workaround for that.
You also have more networking options. The Virtual Network Editor gives you a great administrative tool, where you can manage your virual network. There you can also add more than one Virtual Host Adapters, which is also not available with VirtualBox.
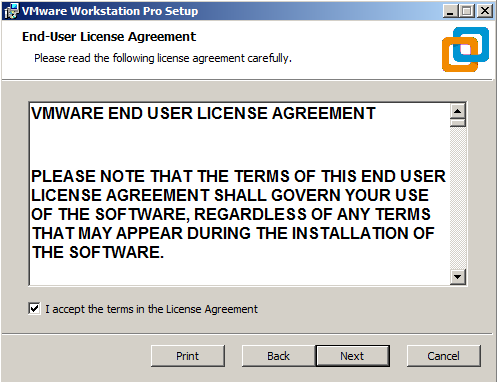
Accept the license Agreement
Install the Enhanced Keyboard
You can enable automatic updates and Join VMWare Experience Improvement Program.
Create shortcuts
and start the installation
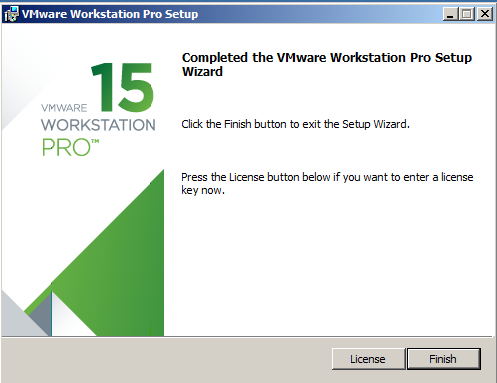
Press License and Enter the Key that VMWare emailed you, or press Finish to run the 30-day Trial version, where you can add the license later at any time.
Since we selected to install the Enhanced Keyboard we will be prompted for a restart
The interface is similar to the VirtualBox. We are good to go!
I have added that paragraph because before I was not sure if there is a major difference between VMWare Workstation Pro and Oracle VIrtual Box. But recently I found out that only the VMWare product support nested Virtualization. This means that the integration with GNS3 will not be ideal with Oracle VirtualBox. Also inside VMWare Workstation Pro, I am able to run nested Type-1 Hypervisors (VMWware ESXi) and easily learn and test Type-1 Hypervisors, while this is not possible for VirtualBox.
Another major advantage of VMWare Workstation Pro is that you can add/remove virtual devices (NIC, Disk etc) on the fly, while with VIrtual Box you have to first shutdown the VM which time consuming. Also you can restore the VM to a previous snapshot again while the machine is running, which is not possible on VirtualBox.
You also have more networking options. The Virtual Network Editor gives you a great administrative tool, where you can manage your virual network. There you can also add more than one Virtual Host Adapters, which is also not available with VirtualBox.
Accept the license Agreement
Install the Enhanced Keyboard
You can enable automatic updates and Join VMWare Experience Improvement Program.
Create shortcuts
and start the installation
Since we selected to install the Enhanced Keyboard we will be prompted for a restart
The interface is similar to the VirtualBox. We are good to go!


No comments:
Post a Comment